
My kitchen remodel
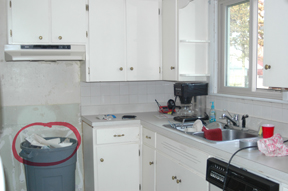
As you know, I've been spending almost every bit of spare time trying to remodel my kitchen. I want to have it done before Thanksgiving when my dad and stepmom are going to come stay with me. Unfortunately, I didn't start taking photos to document the occasion until recently, so I don't have pictures from the very beginning, but I'll keep you photographically posted from here on out.
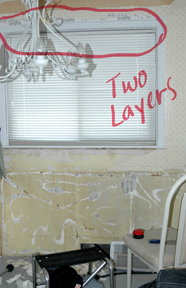
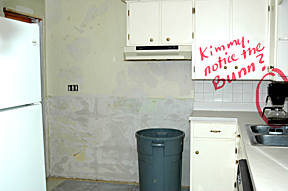
The first thing I did was rip off the chair rail and baseboards and tear up the floor. The floor was some '70s-era linoleum that was made to look like parquet flooring. It was hideous. After the floor was up, I screwed down cement board over the existing floor. This is what I'll lay the tile down on. That's where the photos pick up. The next task was to strip two layers of ugly wallpaper. I tried everything until I finally used the steamer which worked great.

That is the steamer that I so love.
Next, I had to patch a whole in the wall that a slightly overzealous Dan decided to tear into it when I mentioned I might want to cut a window in that wall that would look into the living room.

Now, the wallpaper is finally gone!


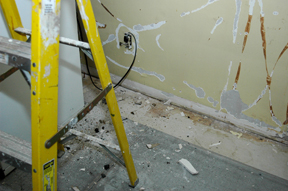
Then I had to patch this hole. There was an old out-of-use exhaust fan in the ceiling. It made quite a mess getting it out.

Next, I had to fill in all the nicks and holes in the wall with Durabond, which is a find drywall powder that, when water is added, turns into a paste with the consistency of frosting. You basically take a putty knife and "frost" the walls.
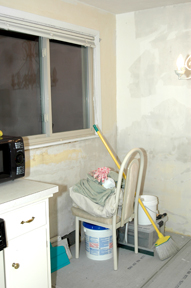

Last night, I sprayed the walls with a drywall splatter. It will look great when I'm done. You can't really see the texture in the photos. But I took a close-up so you can sort of get the idea. I bought a five gallon bucket of wet drywall and then added more water to make it a little less stiff. I added it into the hopper of this thing that was hooked up to an air compressor. When you pull the trigger, the drywall shoots out and splatters on the wall (I did the ceiling, too). After it dries a little, you take a wide putty knife and smooth it out a little bit so it's not so bumpy. You're left with a really cool texture.
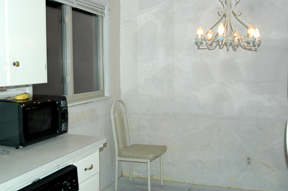
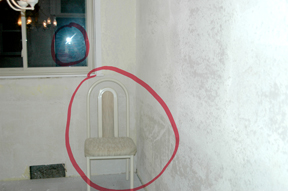
There's that ugly '80s era chair that keeps hanging around. With a floor from the '70s and a chair from the '80s, I'm on my way to having the decades well-represented. I bet the wallpaper was from the '90s.
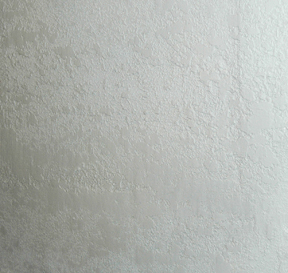
This is a photo of the texture.
posted by kimw @ 1:50 PM
![]()
![]()
3 Comments:
That's a lot of work, but it's gonna look awesome! I really like the texture effect you did. I'm not an expert at all, but it looks professional! You are going to have one really nice area when you get done!
I admire you for tackling all that! I can usually see a finished product, but I hate the process of getting there. It'll be worth it though!
We've done so much work to get our house to where it is, but now we are so proud of it. Even more so for you, because I tend to pawn a lot of the work off and when you do it yourself it just makes you feel so good.
That texture looks great. We did all of ours by hand. I did the main part of house, but, because of Tytus, Adam did most of the addition. It takes forever and isn't as consistent as yours looks.
I commented on your awful-horrible day about your picture with Verity - I think that maybe because it was a while after the post you didn't see it. You really should check the picture out and see the resemblance.
Anyway. Don't discouraged - you'll be done soon and you'll just love the results of all your hard work!
Good work Kim!
In Fort Wayne, our ceilings were done with that "pattern." They used it in all the newer houses we looked at. The realtor called it "Spanish Lace."
I can't wait to see the finished kitchen!
Post a Comment
<< Home